- Introduction
- Setting up your account
- Balance
- Clusters
- Concept drift
- Coverage
- Datasets
- General fields
- Labels (predictions, confidence levels, label hierarchy, and label sentiment)
- Models
- Streams
- Model Rating
- Projects
- Precision
- Recall
- Annotated and unannotated messages
- Extraction Fields
- Sources
- Taxonomies
- Training
- True and false positive and negative predictions
- Validation
- Messages
- Access control and administration
- Manage sources and datasets
- Understanding the data structure and permissions
- Creating or deleting a data source in the GUI
- Preparing data for .CSV upload
- Uploading a CSV file into a source
- Creating a dataset
- Multilingual sources and datasets
- Enabling sentiment on a dataset
- Amending dataset settings
- Deleting a message
- Deleting a dataset
- Exporting a dataset
- Using Exchange integrations
- Model training and maintenance
- Understanding labels, general fields, and metadata
- Label hierarchy and best practices
- Comparing analytics and automation use cases
- Turning your objectives into labels
- Overview of the model training process
- Generative Annotation
- Dastaset status
- Model training and annotating best practice
- Training with label sentiment analysis enabled
- Understanding data requirements
- Train
- Introduction to Refine
- Precision and recall explained
- Precision and Recall
- How validation works
- Understanding and improving model performance
- Reasons for label low average precision
- Training using Check label and Missed label
- Training using Teach label (Refine)
- Training using Search (Refine)
- Understanding and increasing coverage
- Improving Balance and using Rebalance
- When to stop training your model
- Using general fields
- Applying labels
- Reviewing messages
- Searching for messages
- Label editing
- Generative extraction
- Using analytics and monitoring
- Automations and Communications Mining™
- Developer
- Uploading data
- Downloading data
- Exchange Integration with Azure service user
- Exchange Integration with Azure Application Authentication
- Exchange Integration with Azure Application Authentication and Graph
- Migration Guide: Exchange Web Services (EWS) to Microsoft Graph API
- Fetching data for Tableau with Python
- Elasticsearch integration
- General field extraction
- Self-hosted Exchange integration
- UiPath® Automation Framework
- UiPath® official activities
- How machines learn to understand words: a guide to embeddings in NLP
- Prompt-based learning with Transformers
- Efficient Transformers II: knowledge distillation & fine-tuning
- Efficient Transformers I: attention mechanisms
- Deep hierarchical unsupervised intent modelling: getting value without training data
- Fixing annotating bias with Communications Mining™
- Active learning: better ML models in less time
- It's all in the numbers - assessing model performance with metrics
- Why model validation is important
- Comparing Communications Mining™ and Google AutoML for conversational data intelligence
- Licensing
- FAQs and more
Communications Mining user guide
You must have assigned the Source - Read and Dataset - Review permissions as an Automation Cloud user, or the View sources and Review and annotate permissions as a legacy user.
Reviewing unreviewed messages and accepting or rejecting the predicted labels of the platform and general fields further trains the model and its accuracy.
You can review unreviewed messages in most of the training modes in the Explore and Discover tabs:
- Cluster (Discover)
- Search (Discover and Explore)
- Recent (Explore)
- Shuffle mode (Explore)
- Label mode (Explore)
- Teach (Explore)
- Low Confidence (Explore)
Make sure to apply all of the relevant labels in your taxonomy to each message. When you review a message, not only do you teach the model which labels apply, but also which labels don’t. If you don’t apply all relevant labels, you send a negative training signal to the model, which will affect its performance.
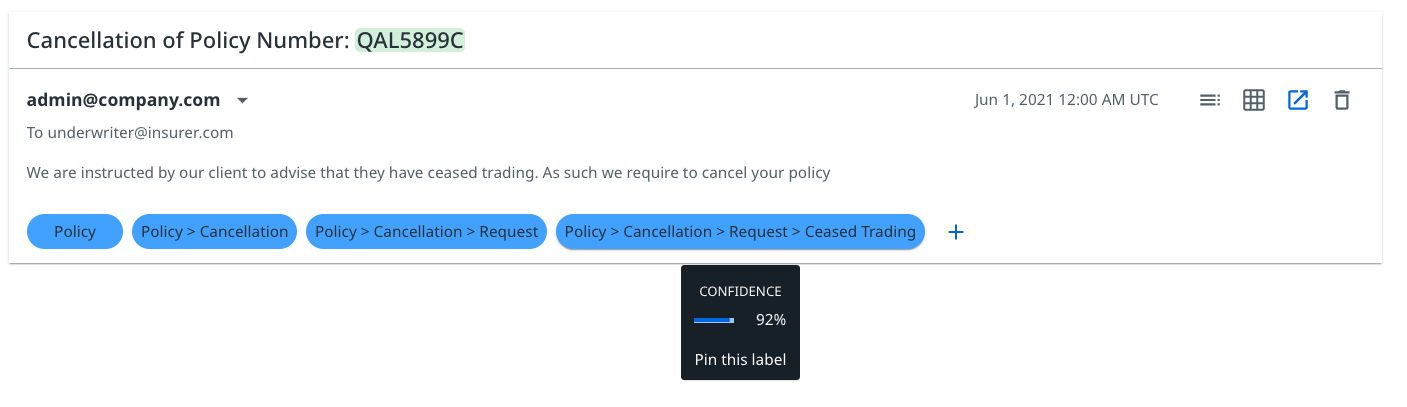
The opacity of a label indicates the confidence of the platform's prediction of that label, with higher opacity indicating higher confidence.
Accepting or rejecting labels
Hovering your cursor over the label opens a modal showing the confidence with which the model has predicted the label and, if sentiment analysis is enabled, the net sentiment.
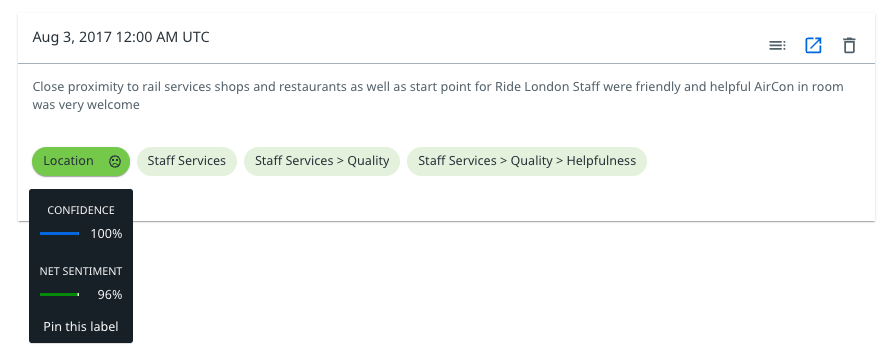
- Selecting the label, or the sentiment indicator, if sentiment analysis is enabled, pins the label to the message, that is, it confirms the prediction the model makes for that label.
- If you want to change the sentiment of the predicted label, select the face image that appears when you hover over the message.
- If the prediction is wrong, add the correct one, which effectively dismisses the incorrect predictions.
Accepting, rejecting, or changing the type of a general field
Hovering your cursor over the general field opens a modal showing the confidence with which the model has predicted the general field.
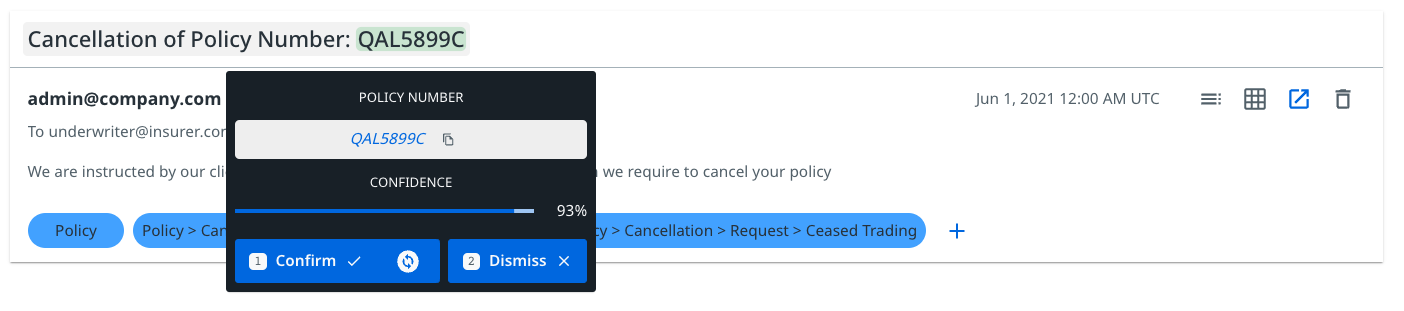
To accept or reject a general field perform one of the following actions:
-
Select Confirm on the general field, or select the hotkey 1 to confirm a general field. This action pins the general field to the message, that is, it confirms the prediction the model makes for that label.
-
Select Dismiss on the general field, or select the hotkey 2 to dismiss a general field. This action indicates the platform that the general field predicted is incorrect.
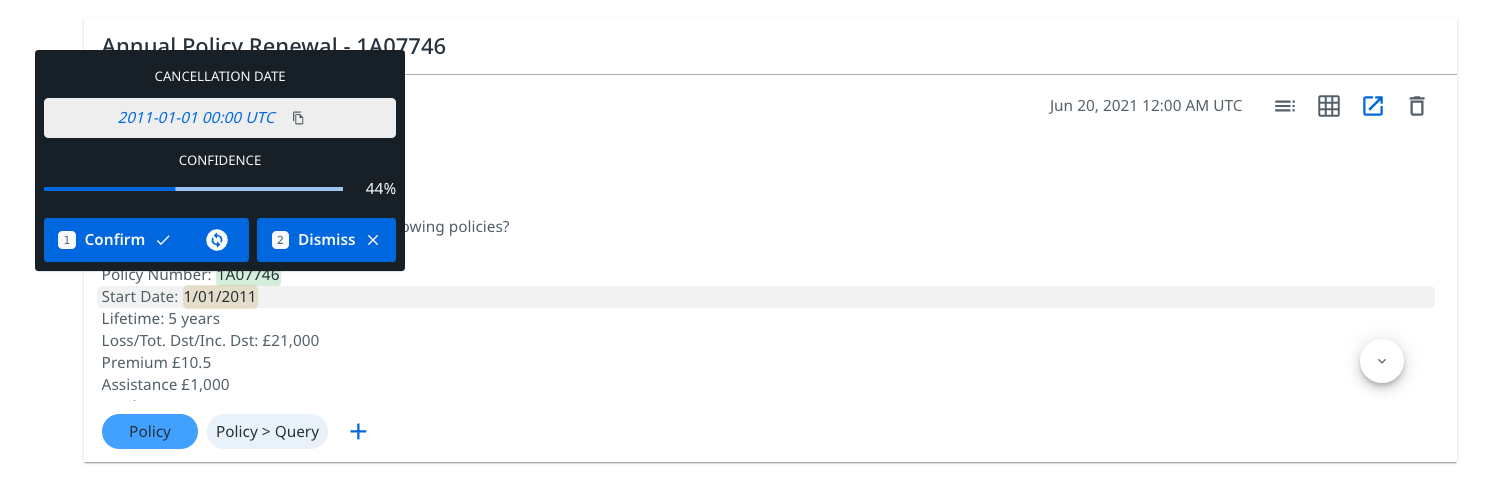
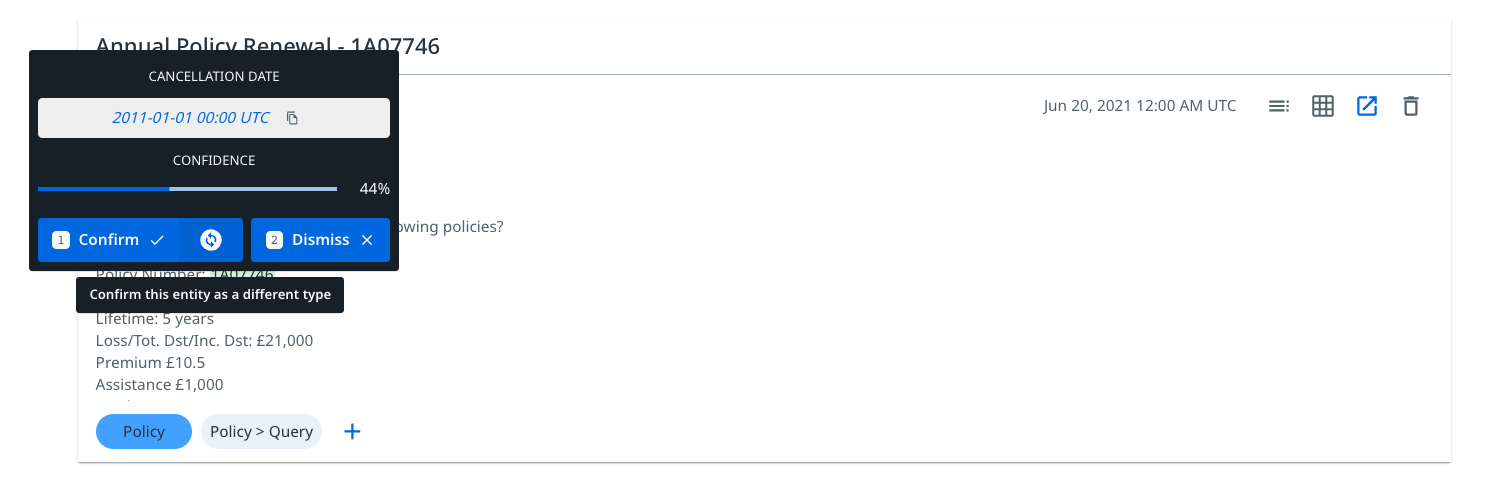
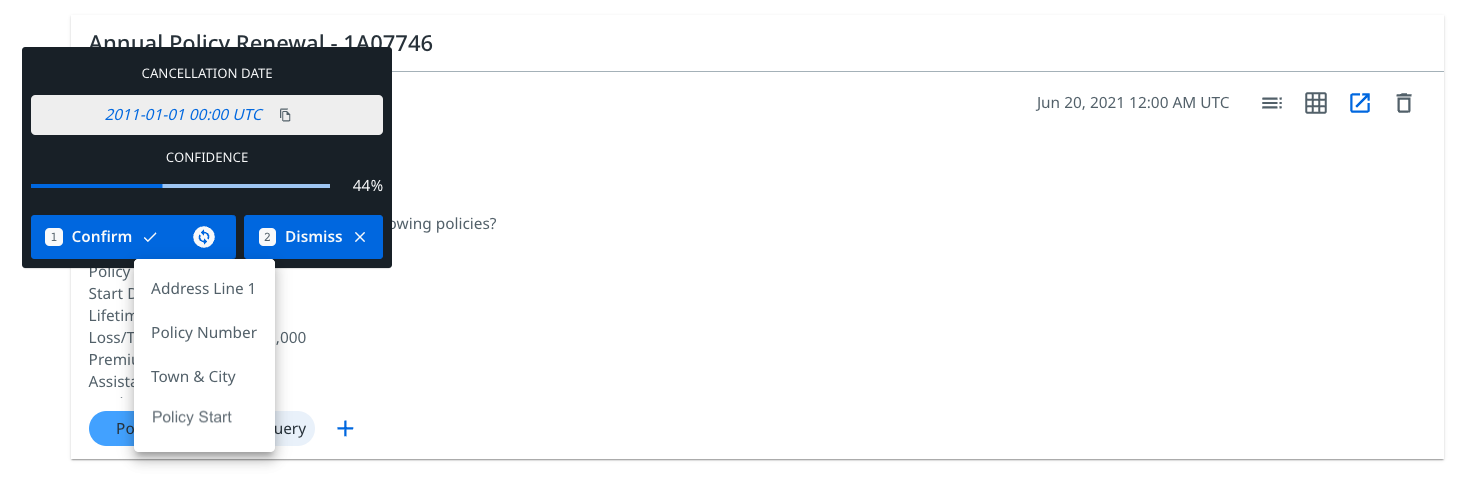
Selecting the change general field button allows you to assign a different general field, if the general field predicted is incorrect.
In the previous example, selecting this button displays the other general fields in your dataset that you can assign.
In this case, you can change the general field type from Cancellation Date to Policy Start on the dropdown, which will assign this general field.