- Erste Schritte
- Zugriff und Berechtigungen
- Benachrichtigungen
- Interaktion mit Insights
- Überblick
- Best Practices für Dashboard-Anpassungen
- Benutzerdefinierte Variablen
- Geplante Zustellungen und Warnungsverwaltung
- Prognose
- Insights für alle
- Integration des Action Centers
- Automation Hub-Integration.
- Autopilot-Integration
- Integration von Reparatur-Agents
- Integrationen der Lizenzüberwachung
- Maestro-Integration
- Integration des Test Managers
- Echtzeitüberwachung
- Datenexport in Echtzeit
- Lizenzierung
- Fehlersuche und ‑behebung
Insights-Benutzerhandbuch
UiPath Insights provides scheduling functionality to send out recurring (email) deliveries for Insights dashboards to other users. This functionality helps until the creator/owner of that scheduled delivery departs from the company. In a scenario like that, emails continue to go out and only the original creator has the ability to perform any operations on those deliveries. To resolve this, you can use the Manage Schedules and Alerts feature to delete a recurring schedule or alert. Use the following steps to delete a scheduled email delivery:
Only organization Administrators can access Manage Schedules and Alerts page.
Löschen von Zeitplänen
Führen Sie die folgenden Schritte aus, um eine geplante E-Mail-Versandzustellung zu löschen:
-
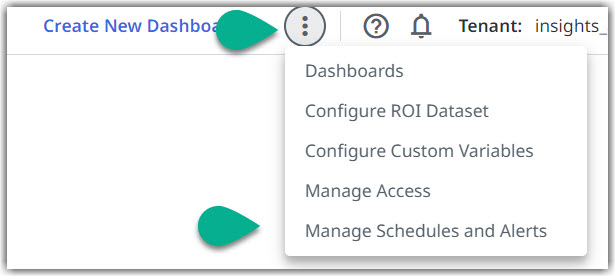
From the Insights homepage, select the three dotted menu near the Create New Dashboard + option.
-
From the available menu, select Manage Schedules and Alerts. In the new page, you have a list with all the Schedules and details such as: Name, Owner, Owner Email, Recipients, and Tenant Name. Select the arrow next to one of the items, and sort them alphabetically (A-Z or Z-A). You can also search to find a schedule by using the search box.

-
Check the box near the schedule you wish to remove and select the Delete Schedule button
 .
. -
Select Delete in the confirmation window. The selected schedule is now deleted.
Löschen einer Warnung
Verwenden Sie die folgenden Schritte, um eine geplante Warnungs-E-Mail-Versand zu löschen:
-
From the Insights homepage, select the three dotted menu near the Create New Dashboard + option.
-
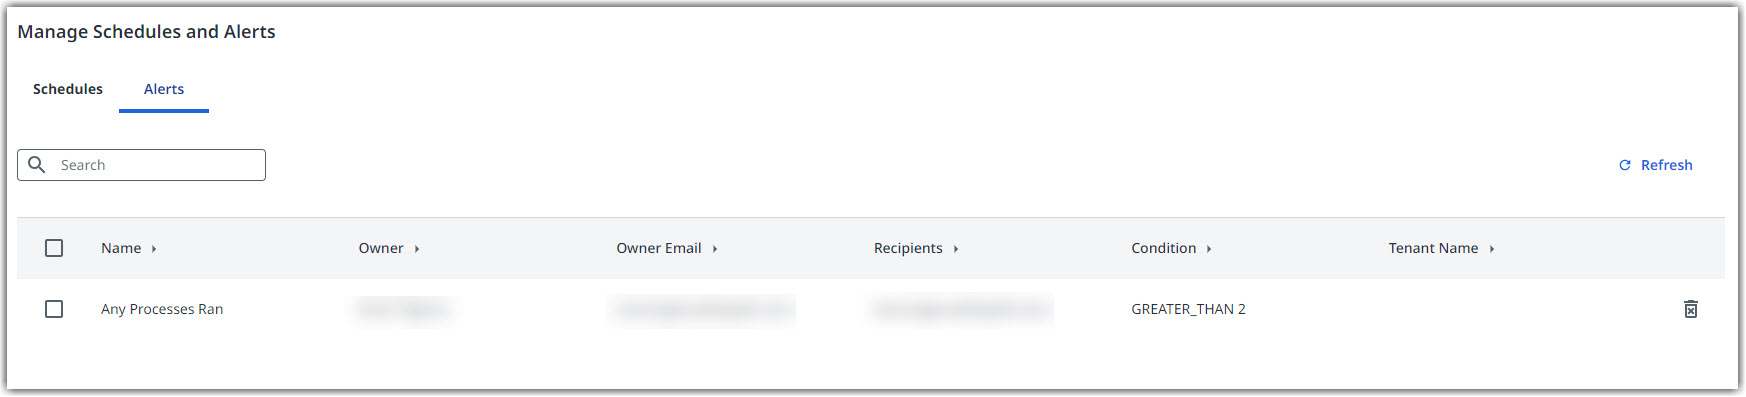
From the available menu, select Manage Schedules and Alerts. In the new page, you have a list with all the Alerts and details such as: Name, Owner, Owner Email, Recipients, Condition, and Tenant Name. Select the arrow next to one of the items, and sort them alphabetically (A-Z or Z-A). You can also search to find an alert by using the search box.
-
Check the box near the alert you wish to remove and select the Delete Alert button
. -
Select Delete in the confirmation window. The selected alert is now deleted.