# Set up Actionable Insights
> **UiPath Action Center** is the central portal to track and monitor complex business processes, tasks, people, and robots. You can connect **UiPath Process Mining** to your **UiPath Orchestrator** to trigger people or robots based on Process Mining insights. You can use the triggers to add queue transactions for robots, or alert people with actions in **UiPath Action Center**. This guide describes how to connect with **UiPath Orchestrator** to enable **Actionable Insights**.
## Introduction
**UiPath Action Center** is the central portal to track and monitor complex business processes, tasks, people, and robots. You can connect **UiPath Process Mining** to your **UiPath Orchestrator** to trigger people or robots based on Process Mining insights. You can use the triggers to add queue transactions for robots, or alert people with actions in **UiPath Action Center**. This guide describes how to connect with **UiPath Orchestrator** to enable **Actionable Insights**.
## Downloads
Download: [Actionable Insights.zip](https://documentationpicturerepo.blob.core.windows.net/screenshots/screenshots/Process_Mining/Actionable_Insights.zip)
### Prerequisites
It is assumed that you have:
* downloaded and extracted the [Actionable Insights.zip](https://documentationpicturerepo.blob.core.windows.net/screenshots/screenshots/Process_Mining/Actionable_Insights.zip) file.
* installed (as an administrator) **Python** and the following **Python** packages on the **UiPath Process Mining** Server:
+ requests,
+ json,
+ python-dotenv.
* access to a **UiPath Cloud Orchestrator** cloud or **on-prem Orchestrator**;
* access to the **UiPath Process Mining** installation folder on the server;
* downloaded the latest version of the app or Discovery Accelerator for which you want to set up Actionable Insights.
* knowledge of **UiPath Orchestrator** and **UiPath Action Center**.
:::important
If you are using an **UiPath Orchestrator** on premise, it is recommended to install **UiPath Process Mining** on a different server.
:::
## Step 1: Connect UiPath Orchestrator
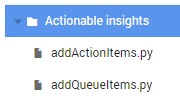
The **Actionable insights** folder in installation package of the app or Discovery Accelerator contains the files that you need to connect with your **UiPath Orchestrator**.
Follow these steps to connect your **UiPath Orchestrator**.
Step
Action
1
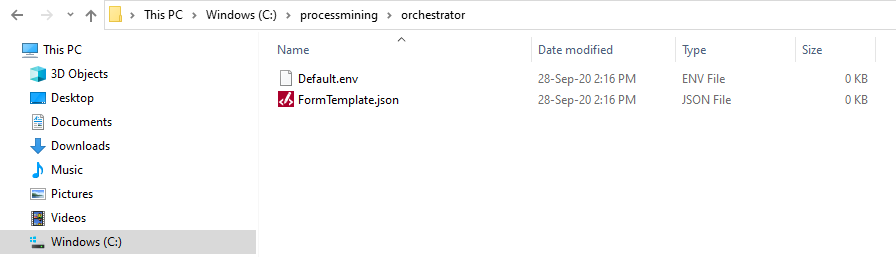
Go to the root folder of your UiPath Process Mining installation <PLATFORMDIR> and create a subfolder orchestrator . See the illustration below.
2
Copy the following files to the subfolder orchestrator .
Default.env ;
FormTemplate.json .
See the illustration below.
3
Rename the .env file to the name of the tenant for which the connection is set up. For example, if the tenant is Default , the UiPath Orchestrator config file must be renamed to Default.env . See the illustration below.
4
Make sure that the settings are set and/or added in the [tenant].env config file as described below.
### Settings for Using UiPath Orchestrator
Set the following settings for **UiPath Orchestrator**.
* `ORCH_INSTANCE_TYPE = 1` if your **UiPath Orchestrator** is on-premises, or `ORCH_INSTANCE_TYPE = 2` if your **UiPath Orchestrator** is in the cloud.
* `ORCH_URL = [url]` (the part of the Orchestrator URL including the tenant name, see the illustration below)
* `ORCH_APP_ID = [*App ID*]`
* `ORCH_APP_SECRET =[*App secret*]`

### App ID and App Secret
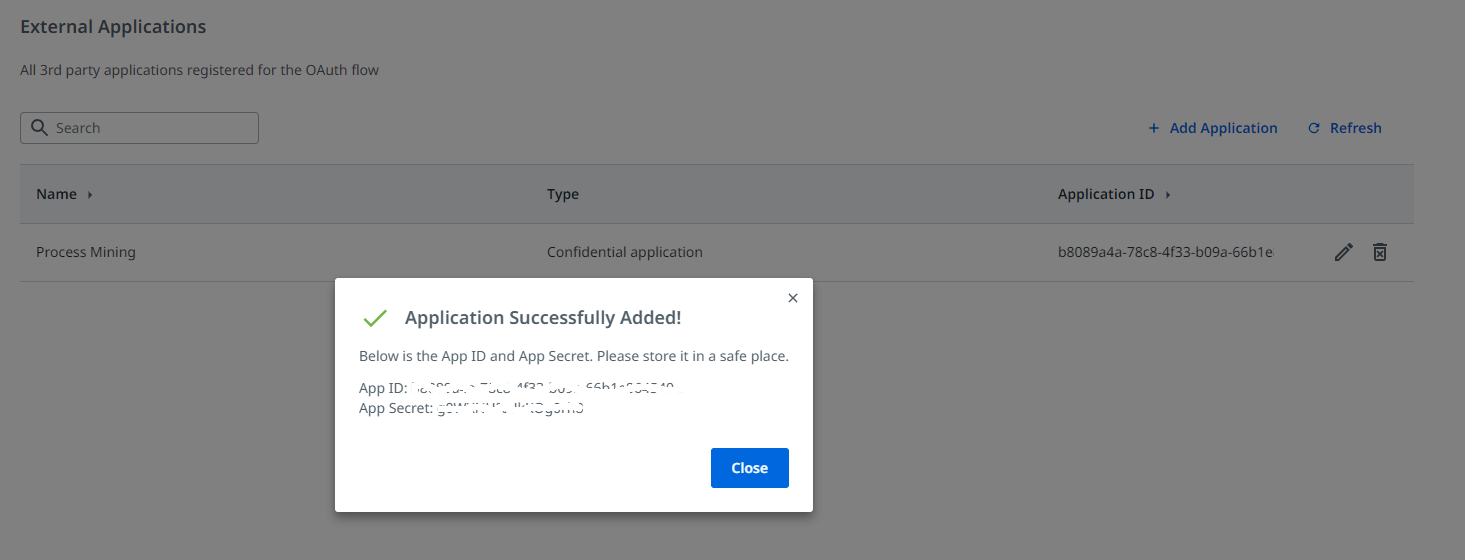
To obtain the Application ID and the App secret, you must add **Process Mining** as an external application for the UiPath platform. Once registered, **Process Mining** can make API calls to UiPath Orchestrator to access the Actions and Queues.
Follow these steps to register **Process Mining** as an external application.
Step
Action
1
In Automation Cloud click on the Admin option in the menu, and go to External applications , or on your tenant host, go to Settings - Security - External Applications .
2
Click on + Add Application .
3
Enter a name, for example Process Mining , in the Application Name field. Note: the Redirect URL field is optional and can be left blank.
4
Make sure Confidential application is selected as the Application Type .
5
Click on Add Scopes . The Edit Resource panel is displayed.
6
Select Orchestrator API Access from the Resource drop-down list.
7
On the Application Scope(s) tab select OR.Tasks and OR.Queues . Click on Save .
8
Click on Add to add the application.
A popup dialog is displayed showing the **App ID** and **App Secret**. See the illustration below for an example.
## Step 2: Setting up your Workspace
Follow these steps to set up your Workspace for **Actionable Insights**.
Step
Action
1
Go to the Superadmin Workspaces tab and select the Workspace for your app or Discovery Accelerator.
2
Create a new folder Actionable insights .
3
Upload the following files to the Actionable insights folder:
addActionItems.py
addQueueItems.py
See the illustration below.