# Modifying Insights Configurations
> To modify or uninstall Insights, you need to have the original installation file.
## Requirements
To modify or uninstall Insights, you need to have the original installation file.
## Modifying the Insights Installation
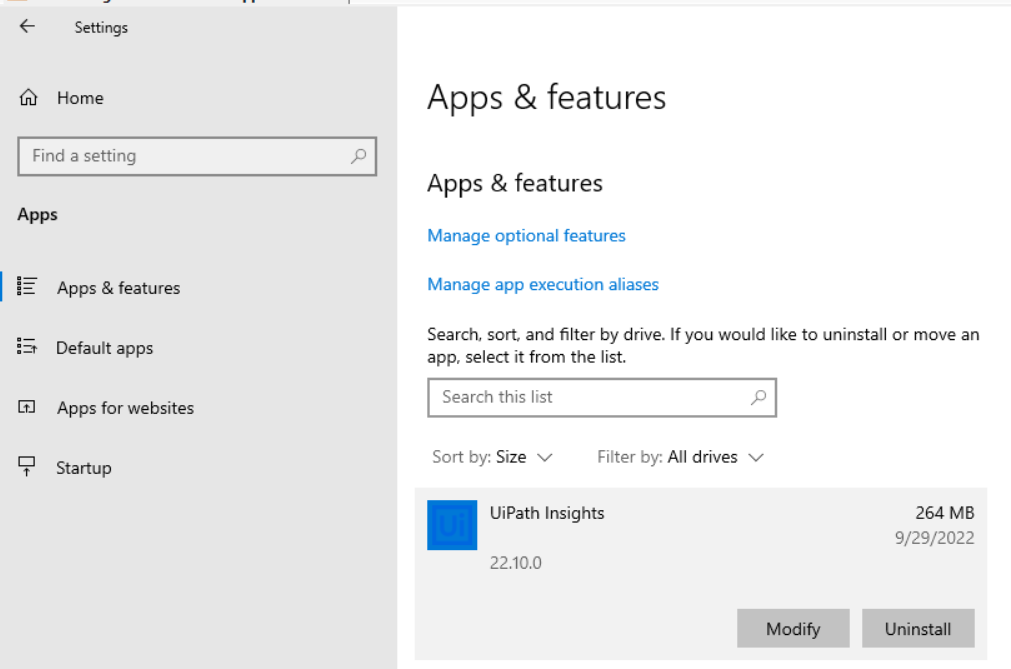
1. Go to **Apps and Features**. Select on **UiPath Insights** and Select Modify.
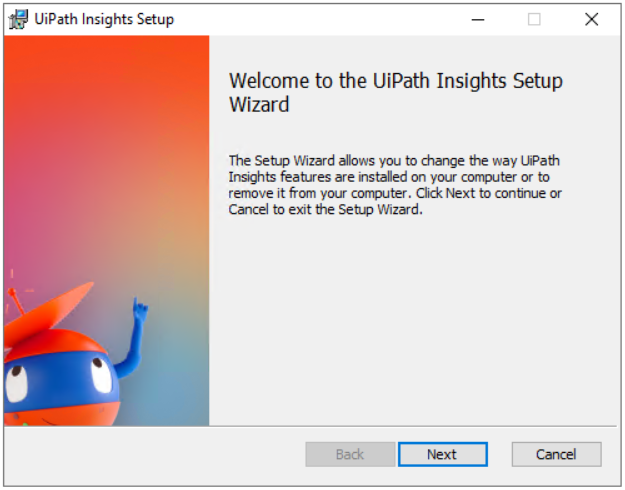
2. Select **Next** in the newly opened window.
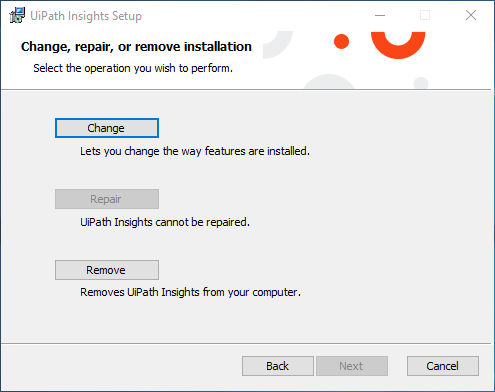
3. Select **Change** .
### Modifying the Looker Configuration File Path
1. If you want to modify the SMTP configuration, replace a Linux certificate, or change the database authentication to windows authentication, then you must first [rerun the Preinstallation Tool](https://docs.uipath.com/insights/standalone/2024.10/user-guide/insights-installation#installation)
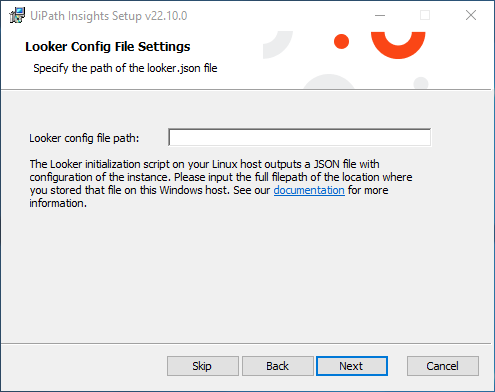
2. Input the new Looker Configuration File Path and select **Next**.
3. You can select **Skip** on the next pages if you do not want to implement any other changes.
4. Select **Next**.
5. Lastly, select **Next** in the **Ready To Install** window.
### Modifying the Orchestrator/Identity Properties
1. Input the new Orchestrator URL and Installation Access Token and select **Next**.
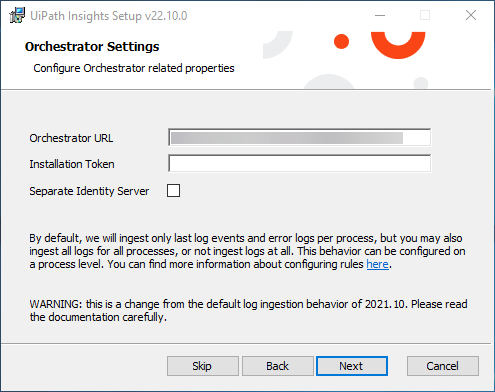
2. Select **Skip** in the following windows if you do not want to change any other settings available.
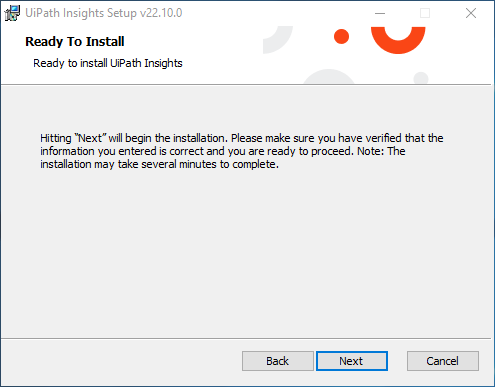
3. Lastly, select **Next** in the **Ready To Install** window.
### Modifying the Insights Database Connection
1. Go to Orchestrator Server and update the Insights database connection string. You need to manually change it in Orchestrator configuration file.
a. Open the `UiPath.Orchestrator.dll.config` file.
b. In the `connectionStrings` section, modify the `connectionString` parameter of the key `name="Default"` as follows:
1. For SQL Authentication: `connectionString="Data Source={YOUR_ORCH_DB_HOST};Initial Catalog={YOUR_ORCH_DB_NAME};User ID={YOUR_ORCH_DB_SQL_USER};Password={YOUR_ORCH_DB_SQL_PASSWORD}" />`
2. For Windows Authentication: `connectionString="Data Source={YOUR_ORCH_DB_HOST};Initial Catalog={YOUR_ORCH_DB_DATABASE_NAME};Integrated Security=true" />`
Example for SQL Authentication:
```
```
Example for Windows Authentication:
```
```
2. Go to **Apps and Features** and select on **UiPath Insights** and Select Modify.
3. You can select **Skip** if you do not want to add any changes in any of the other windows.
4. Input your new Insights database settings.
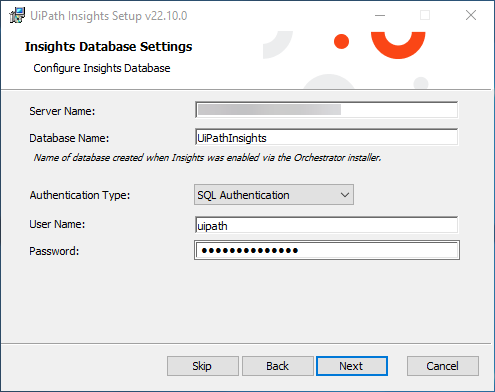
5. Select **Next**.
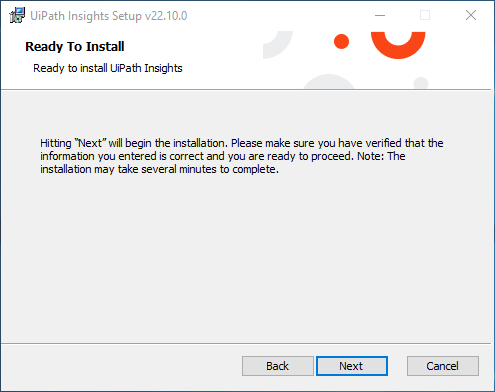
6. Lastly, select **Next** in the **Ready To Install** window.
### Modifying the SMTP configuration
:::note
The email service configuration is not removed if you uncheck the **Configuring Email Service (SMTP)** option.
:::
1. Navigate to **Apps and Features** and select on **UiPath Insights** and Select Modify.
2. You can select **Skip** if you do not want changes in other windows.
3. Select **Configure Email Service (SMTP)** .
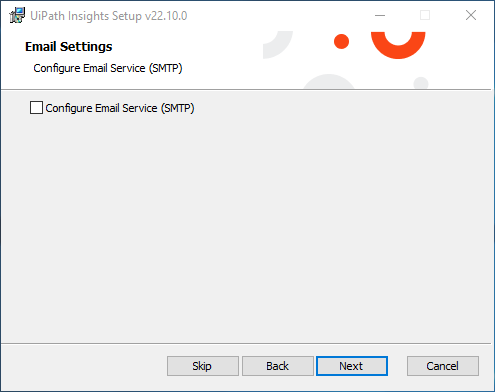
4. Enter the Email Settings to Configure the Email Service
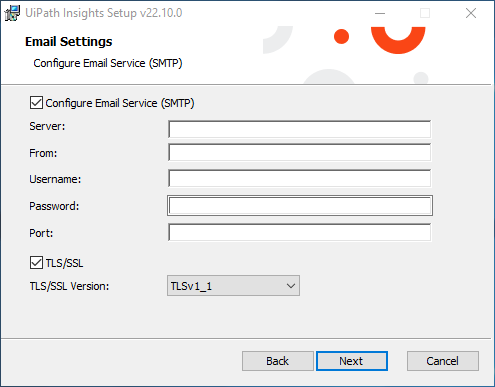
5. Select **Next**.
6. Lastly, select **Next** in the **Ready To Install** window.
## Updating the Portal Certificate in IIS
1. Make sure your new certificate is imported to both **Personal** (for the certificate) and **Trusted Root Certification Authorities** (for the root certificate). Also ensure the certificate is valid.

2. Go to **IIS Manager** and open the **UiPath Insights** website.
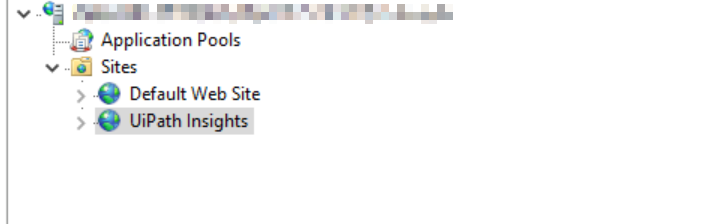
3. Open the **Bindings** page.
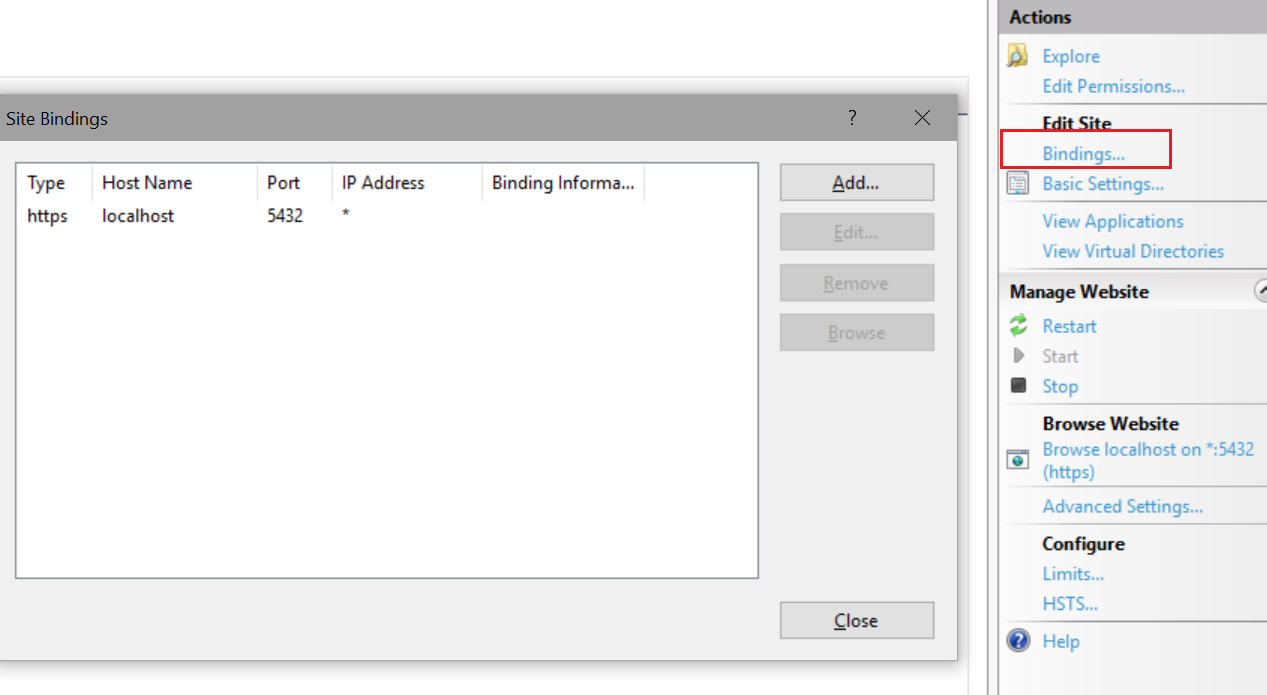
4. Select the binding and click **Edit**, then choose your new certificate from the **SSL certificate** drop-down menu and click **OK**.
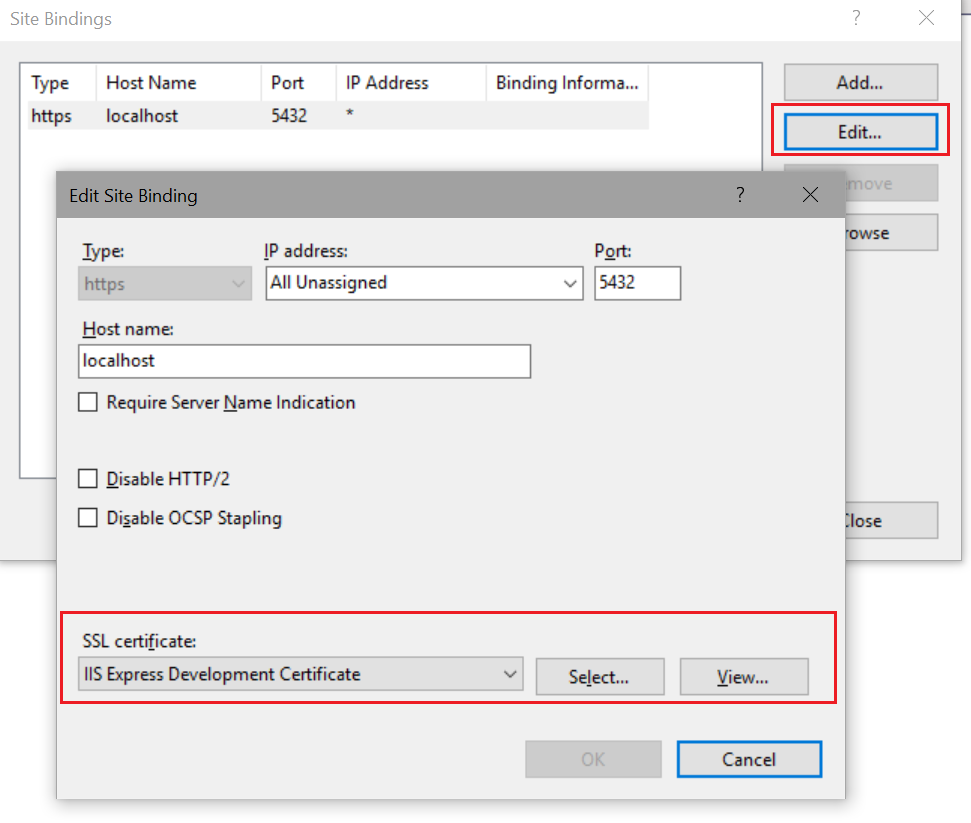
5. Restart IIS.
## Updating Looker Certificate on the Insights Linux Machine
If you want to update or replace the Looker Certificate, follow the instructions below:
1. Export the Insights certificate with a private key asa PFX file.
2. Copy the `insights cert.pfx` file to the Insights Linux Machine by running the following command:
```
scp {certificateFolder}\NewInsightsCert.pfx InsightsUser@LinuxMachine:/Home/InsightsUser/NewInsightsCert.pfx
```
3. Download [the script](https://github.com/UiPath/Insights-Customer/blob/master/Scripts/OnPrem/certificateChange.sh) needed to update the certificate by running the following command:
```
wget https://github.com/UiPath/Insights-Customer/blob/master/Scripts/OnPrem/certificateChange.sh
```
4. Update the file permissions to make it executable:
```
chmod 755 certificateChange.sh
```
5. Run the script using the following command:
```
./certificateChange.sh -c {cert.pfx filename} -s {RHEL FQDN as listed in certificate SAN}
```
You will be asked to provide path to the PFX file and password (if needed for the certificate).
## Updating the Port After an Installation
To update the port number after Insights installation, you need to follow these steps.
Step
Action
1. Create domain-signed certificate
Create a domain-signed certificate with the new URL.
2. Change port number in IIS
Open IIS Manager and navigate to Site > Insights application > Bindings to change the port number.
3. Remove URI port number from Identity Server DB
Remove the URI port number from the following parameters found in the Identity Server database :
ClientRedirectUris
ClientPostLogoutRedirectUris
4. Modifyprovisioning.url parameter in Insights config file
Navigate to C:\Program Files (x86)\UiPath Insights\Insights and open the appsettings.json file to modify Insights settings.
Find the provisioning.url parameter.
Remove the port number from the URI.
Find the portalUrl parameter to add your new URL and port number. e.g., "url": "https://insights.cloudStorage.com:portNo/insights"
Save the file.
5. Modifypermission.url parameter in Insights config file
Navigate to C:\Program Files (x86)\UiPath Insights\Provisioning and open the appsettings.json file.
Find the permission.url parameter.
Enter your new URL: "Permission": {new url
Save the file.
6. Reset IIS
Open CMD as admin and run iisreset to reset IIS.